Saturday, May 18, 2013

Hello my miniature friends!  I know, I know, I've been absent for a while - but real life stepped in, as it sometimes does, and something had to give and I'm afraid it was my blog for a short while.  But I'm back!  

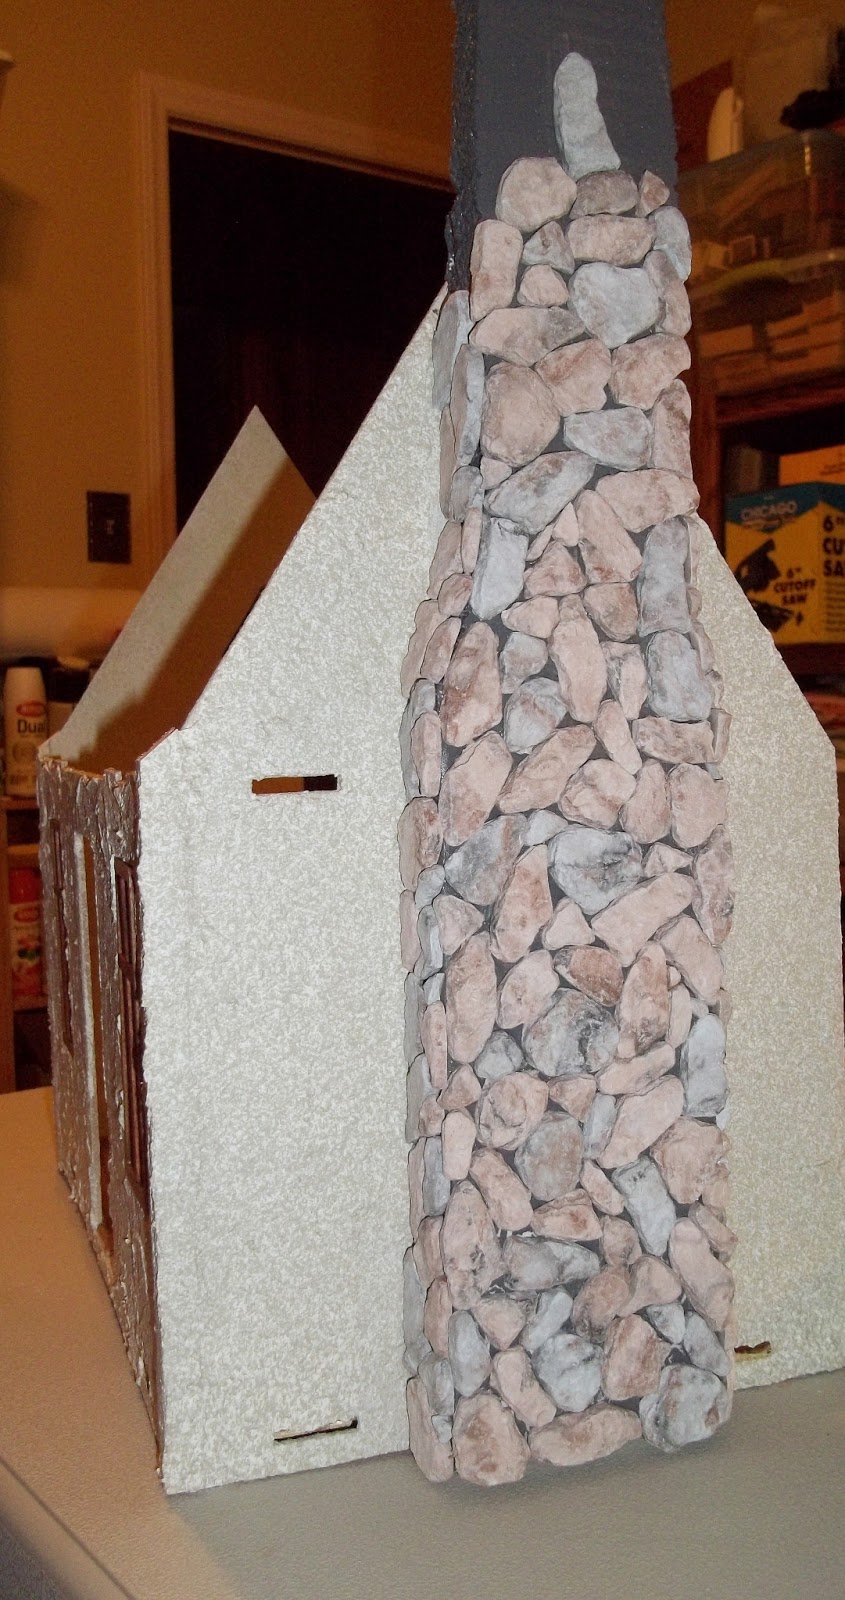
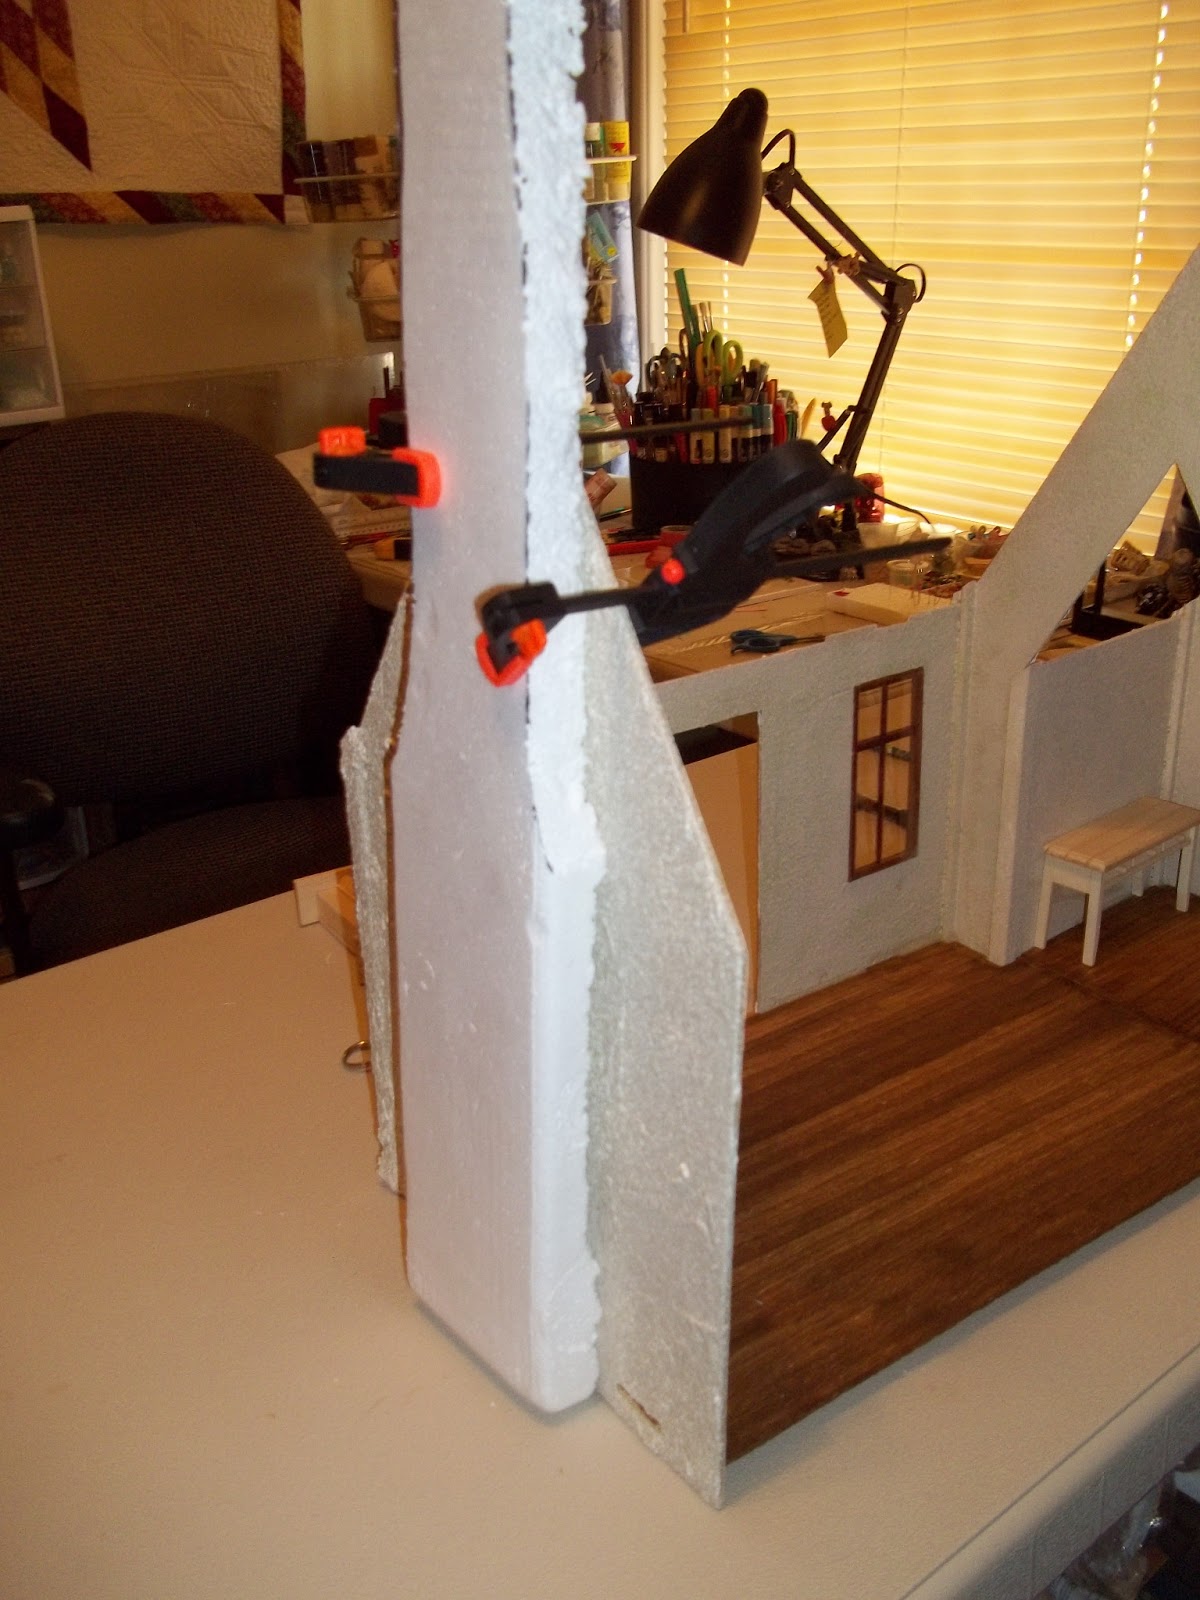
The Hedgewitch Cottage build also had to be put on hold, but I will be able to resume working on it again in a few weeks.  I'm very anxious to get back to where I left off - I have soooooo much to do!  But I will continue to photograph and blog about my progress with the cottage, so please stop by often and visit for a while! Below is where I had left off and you can see how much I still have to do.


I am also in progress of setting up a page here on my blog that will enable you to purchase my haunted dollhouse miniatures directly from my blog!  I will be offering many of the same items as in my Etsy store but will  also have items for sale here on the blog that I will not be selling anywhere else.  They will be blog exclusives.  Payment will be through PayPal - but don't worry if you don't have a PayPal account, because you will be able to pay with a credit card also.  


The give-aways will also be returning starting in June!  All you have to do to have your name in the drawing is either follow this blog or be a friend/follower on Facebook.  I will post more about this in June!

Thank you for being so patient while I was away from my blog.  Now, lets get to work!

Denise

Saturday, March 30, 2013

The March Winner Is...


 A spooky welcome for a spooky giveaway! 

Thank you all for following my blog and/or being a friend / follower on Facebook!  The giveaway prize for this month was a trio of miniature tombstones handcrafted by me.  I sell tombstones also in my Etsy Store.   Ancient, decaying tombstones can sometimes be beautiful works of art.  You simply need to look at them, not past them.  


I won't keep you in suspense any longer.  The March Giveaway Winner Is....


 Congrats Sherry Lynn Jacobs-Small!  Thank you for following along with me on Facebook!  If you will send me your mailing info I will get the tombstones shipped out to you!  

Thank you again to everyone.  Be sure to continue to follow along with the building of the Hedgewitch Cottage and visit my Etsy Store!  


Sunday, March 24, 2013

March Giveaway!

I'm running a couple of days late, but never fear! the March giveaway is here!!  All you have to do to be a part of this giveaway is to be either a follower of this blog, or a friend / subscriber to my Facebook page.  Your name will automatically be put in the drawing each month!  


The giveaway prize this month is a trio of miniature tombstones that I have handcrafted myself.  These tombstones would look fantastic in any haunted or Halloween scene you may have.  They are smaller, but every cemetery has all sizes of tombstones in it, right?  These will work in either 1:12 scale or in 1:24 scale.  They are one of a kind.  


The winner of the March Giveaway will be announced on March 29 here on this blog and on my Facebook page.  So be sure to check in and see if you're the winner for this month! 


Hedgewitch Cottage

I've been busy working on the fireplace for the Hedgewitch Cottage and have the inside finished as far up as I can go until the roof is put on.  It has taken almost 2 packages of the field stones to do the inside fireplace and outside chimney, I have plenty still to complete it once the roof is in place.  


I made the floor hearth out of clay as I wanted it to look like one large stone and once baked and cooled, I glued it to the floor.  I know this fireplace is a bit large for such a small cottage, but I love large fireplaces!  So I made the way I like it.  :)  You can see the styrofoam has been painted gray to mimic the look of mortar and the inside is painted black to mimic soot from years of burning in this fireplace.  I did not apply the stones with it in this position against the wall.  I took the fireplace and laid it down flat and applied the stones that way, then when finished I glued it in place to the wall.  


I "roughed up" the wood mantel and stained it in a dark oak.  I purposefully made it longer on one side so that I can hang utensils from it at a later date.  Once the mantel was dried I glued it in place on top of the fireplace.  At this point I had also darkened the hearth floor to appear more sooty. 


I double checked the inside chimney for size and it was too wide, so it had to be cut down some more.  Once I was happy with the size, I laid it down flat just like I did the fireplace and began laying field stones on it. 


Once I was done laying the stones and gave it time to dry while lying flat, I then glued it to the wall and clamped it for good measure.  I let it dry overnight like this to make sure it would hold.  While it was clamped and drying, I went ahead and painted the wall inside the fireplace black.  You can see the finished fireplace below. 


I have used Aleene's Fast Grab Tacky Glue for this entire project so far.  I love the way it gives that actual fast hold, especially on the field stones.  It has worked great!  

This is  my progress to this point.  I know I really need to put the front door on, but I kind of want to wait to do that after the front porch is put on.  We'll see.  Thanks for visiting and be sure to check out my Etsy Store - www.etsy.com/shop/minimaker22 as I have started listing items for sale that I will be actually using in my Hedgewitch Cottage.  Until next time...


Sunday, March 17, 2013

Hedgewitch Cottage Progress Continues

Welcome back!  Thanks for stopping by and seeing my progress on the Hedgewitch Cottage!  


Finally I feel like I'm making some forward motion again on the build.  The field stones that I ordered came in and I've gotten the outside chimney almost finished! 


 As promised, I am showing you the good, bad and ugly (mistakes) that I make on this build so that you can learn from my mistakes too.  I was so anxious to get started working with the stones that I forgot to paint the chimney gray first (this is to help mimic the look of mortar in tight spaces that I may not be able to get mortar into).  So as you can see, I had to pull off the stones I had glued on (thankfully the glue had not dried) and paint the gray on.  Once the paint had completely dried, I then was able to start laying stones! 


These stones are fantastic to work with!  They are flat on the back can be easily glued to whatever surface you may be working with.  I still have to put mortar in-between the stones.  These stones can also be easily cut into a shape you may need to fit in small spaces. 


 While easy to work with, I have to admit it took me an entire afternoon, about 4 hours to just get this much of the outside done.  It's like putting a puzzle together, you have to fit stones together just like in "real life" stonework.  After all the stonework is done and the mortar has dried, then I'll go over the stones with a clear acrylic or varnish  and that will really bring the color of each stone out.  


I've finished making the cutout for the inside fireplace and chimney.  I've painted these gray as well.  Once the paint has dried, I will glue these into place.  Once the glue has dried, I will start laying stones on the inside. 


While waiting for paint to dry, I cut out 2 pieces of wood for the fireplace mantle.  I've glued them together and have them clamped until the glue dries.  Once all glue is dried I will use a Dremel tool to make final shapes into the wood to make it appear old and beat-up, then I will stain it in several different colors.  Then the mantel will be ready to put onto the top of fireplace.  I will have pictures of all this for you on my next posting.

So that's all for now!  I'm still laying stones, but it's definitely worth it for the final look!  

Be sure to stop by on Friday, March 22 for the announcement and pictures of our March giveaway!  Drawing will be held on March 29! 


Sunday, March 10, 2013

Spring at the Hedgewitch Cottage


 WELCOME SPRING!
The time has changed on us once again and spring is right around the corner.  New season, new beginnings, new growth.  Below is one of my favorite poems about spring.

Spring
 "The wood is decked in light green leaf.
The swallow twitters in delight.
The lonely vine sheds joyous tears
Of interwoven dew and light.

Spring weaves a gown of green to clad
The mountain height and wide-spread field.
O when wilt thou, my native land,
In all thy glory stand revealed?"
-  Ilia Chavchavadze, 


Progress on the Hedgewitch Cottage

My work load has lightened somewhat now and once again I can work on the cottage with a little more gusto!  

I have been over-thinking how I want to make the fireplace and chimney for the cottage.  Big wide chimney?  Thin crooked chimney?  Brick?  Field stone? River rock?  So many choices for every little thing - just like building a life size house!!  So I've decided to quit stressing over it and just get on with it; make my choices and stick with them.  I made a mockup chimney to help decide the finished size I wanted.


Once this mockup was put up against the cottage, I decided it was way to big, to wide at the bottom.  This helped me a great deal in deciding a narrow chimney was the way to go.  After that was decided I got to work on cutting out the outside chimney out of styrofoam to the basic shape I thought would work.  I then glued it generously and clamped it into place until the glue was dried. 


I next started on a visual for the inside of the chimney and fireplace, which will also be cut from styrofoam and glued to the wall.  I'm going let the chimney be seen on the inside all the way up to the roof line at the second floor.  I'm still undecided if there will be an upstairs bedroom or not.  

 
You can see the basic shape of what the fireplace will look like.  I've decided to go with a field stone to cover the entire outside and inside of the chimney and fireplace.  I have ordered this product on-line from Hobby Builders Supply.  The stones are handmade of high-density casting plaster. Cast in a solid color so when trimmed, edges show the natural color (not white). "Stones" can easily be cut with an X-acto knife by scoring the surface and snapping at the score.  


This is a stock picture of the actual product.  I really like the way it looks.  I'm going to glue them into place then put a 'mortar' in-between the stones.  I'm going to be using a mix of brown and gray field stones. 
While I am waiting for the field stones to come in, I am going to be working on the large window that goes in the side room.  
Can hardly wait to get to work on the outside gardens around the cottage, especially with spring so near - makes me want to "plant" things for the cottage garden too!  
 
Stop by often, have a cuppa and visit for a while!  We look forward to your visit!